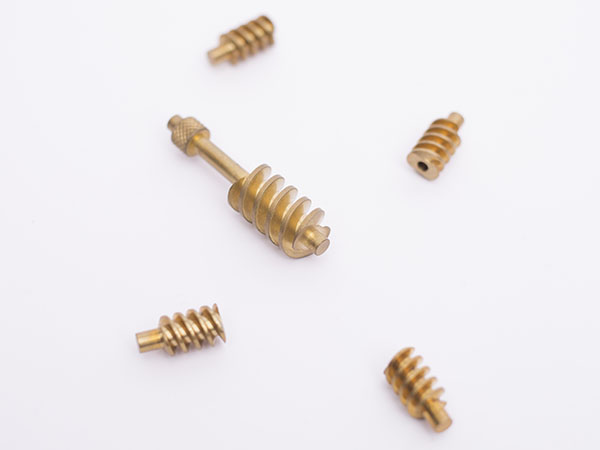
PRECISION PARTS PROCESSING
PRECISION PARTS PROCESSING

Numerical Control Processing The center is composed of mechanical equipment and numerical control system, suitable for high-efficiency automation for processing complex parts The machine tool and CNC machining center are also one of the most widely used CNC machine tools in the world with the highest output. It has a strong comprehensive processing capability. It can complete more processing contents in one clamping of the workpiece, and has high processing accuracy. It is equipped with a tool magazine and is suitable for Single-piece processing with complex shapes and high precision requirements or multi-variety production in small and medium batches.
Generally processed workpieces will be clamped with flat-nose pliers or three-jaw chucks, some are clamped with a pressure plate, and some workpieces need to be clamped by tooling. Due to the different materials and different processing shapes, the clamping The size of the force and whether the pressure is balanced will affect the accuracy of the workpiece processing and the deformation of the workpiece after processing. Often when a colleague uses flat-nose pliers to clamp a workpiece to make a fine hole, the gage can go down before the pliers is loosened. When the pliers are loosened, the gage can't go down. This is because the clamping force is not well grasped. The clamping force is large, the workpiece is deformed, the clamping force is small, and the workpiece ran away during the milling process, which is not good.

How to calibrate the machining center:
1. Return to zero (return to machine origin)
Before tool setting, the zero return (return to the machine origin) operation must be performed to clear the coordinate data of the last operation. Note that the X, Y, and Z axes need to be zeroed.
2, the spindle is rotating forward
Use the "MDI" mode to make the spindle rotate forward by inputting the command code and keep the middle rotation speed. Then change to the "handwheel" mode, and move the machine tool by switching the adjustment rate.
3, X-direction tool setting
Use the tool to gently touch the right side of the workpiece to clear the relative coordinates of the machine tool; lift the tool in the Z direction, and then move the tool to the left side of the workpiece, move down to the same height along Z, and move The tool touches the workpiece lightly, lift the tool, record the X value of the relative coordinate of the machine tool, move the tool to half of the relative coordinate X, record the X value of the absolute coordinate of the machine tool, and press (INPUT) to input the coordinate system Just medium.
4, Y-direction tool setting
Use the tool to gently touch the front of the workpiece to clear the relative coordinates of the machine tool; lift the tool in the Z direction, and then move the tool to the back of the workpiece, and move it down to the same height as before. The tool touches the workpiece lightly, lift the tool, record the Y value of the relative coordinate of the machine tool, move the tool to half of the relative coordinate Y, record the Y value of the absolute coordinate of the machine tool, and press (INPUT) to input the coordinate system Just medium.
5. Z-direction tool setting
Move the tool to the surface of the workpiece to be zero in Z direction, slowly move the tool to lightly touch the upper surface of the workpiece, write down the Z value in the coordinate system of the machine tool at this time, and press (INPUT ) In the input coordinate system.
6. Spindle stalls
First stop the spindle, and move the spindle to a suitable position, call the processing program, and prepare for formal processing.
about
-Introduction -Plant -team -honor -cooperate -applicationproduct
-CNC Machining -Turning And Milling -Automatic Lathe Processing -CNC Machining -More.....news
-Dynamic -Information -Problemconnect
tel:+86 189-3821-1993 / Mr. Kong tel:+86 189-3821-1996 / Mr. Huang tel:+86 177-2238-9053 / Miss Deng


Mobile site
the public
Applets
Copyright © 2021 Dongguan Kaicheng Precision Hardware Co., Ltd. all rights reserved Technical Support :【Dongguan website construction】 【Backstage】